 Sugar-Free Condensed Milk Recipe
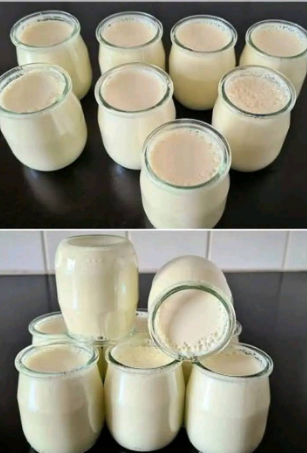
 Simmer Until Thickened
 Reduce the heat to low and let the mixture simmer gently. Stir every few minutes to prevent sticking or burning. This will take 15-20 minutes, depending on how thick you want it.
 Check for the Right Consistency
 After about 15 minutes, the liquid should have reduced and thickened. The texture should be smooth, creamy, and slightly syrupy—similar to store-bought condensed milk.
 Note: It will thicken more as it cools, so don’t overcook it!
 Cool & Store
Remove the saucepan from heat and let the mixture cool for 5-10 minutes. Once cooled, transfer to an airtight jar or container. Store in the refrigerator for up to 1 week.
Pro Tips & Variations
 For a Dairy-Free Version
 Use full-fat coconut cream instead of heavy cream. Swap butter for coconut oil for an ultra-creamy, dairy-free option.
For a Sweeter Taste  If you prefer a sweeter flavor, increase the sweetener by 1-2 extra tablespoons.
For an Extra Thick Version  Simmer for an extra 5 minutes to get an even thicker texture. Add ¼ teaspoon xanthan gum for an ultra-thick consistency.
Want a Hint of Vanilla?  Stir in ½ teaspoon of vanilla extract once cooled for a rich aroma!
Make a Chocolate Version!  Add 2 tablespoons of unsweetened cocoa powder for a delicious chocolate condensed milk.
 How to Use Sugar-Free Condensed Milk
 In Coffee & Tea
  – A creamy, keto-friendly coffee creamer! For Baking
  – Use in sugar-free cakes, pies, and cheesecakes. In Fudge – Perfect for making keto-friendly fudge! For Ice Cream
  – Stir into homemade sugar-free ice creams. Drizzle on Pancakes & Waffles
  – A rich, velvety topping!
 Why You’ll Love This Recipe
100% Sugar-Free & Keto-Friendly – Perfect for low-carb lifestyles. Only 3 Ingredients – Simple, no-fuss preparation. Tastes Just Like the Real Thing! – You won’t miss the sugar at all. Versatile – Use it in so many desserts and drinks!
 Save this recipe for later and try it out!
 What will you use your homemade sugar-free condensed milk for? Let me know!